
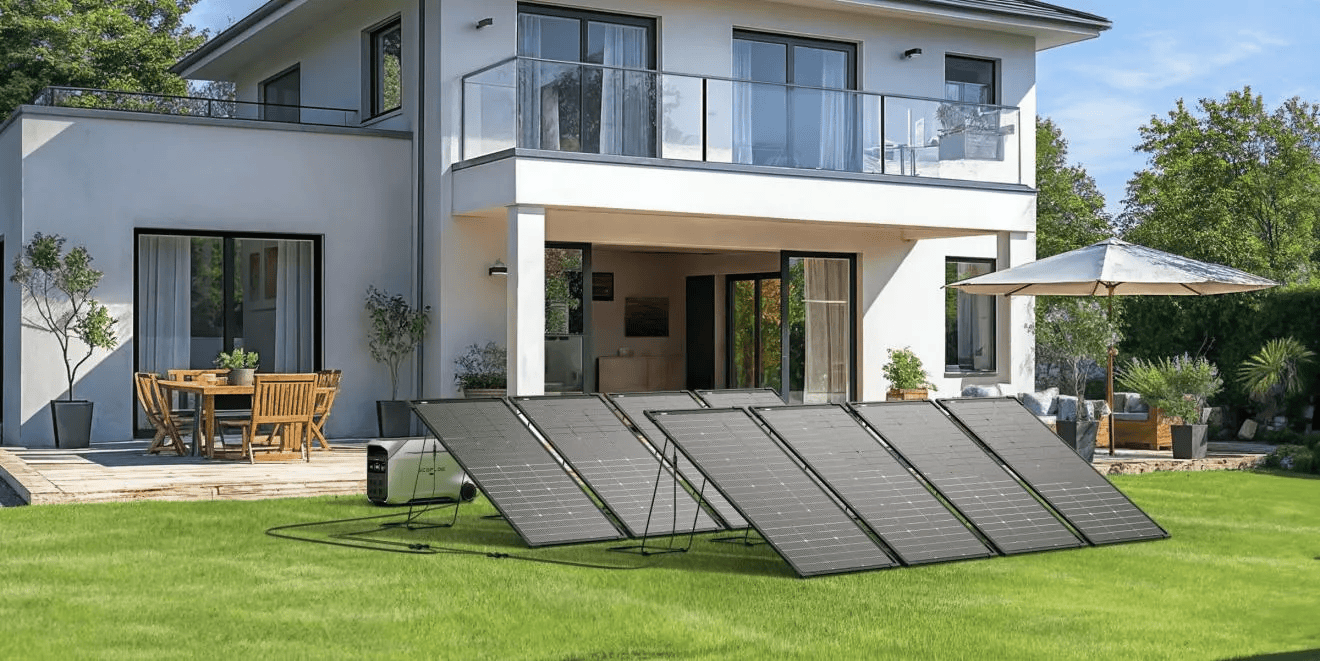
Bifacial solar panels for home use work best when placement supports light on both the front and rear surfaces. That makes location, tilt, spacing, and nearby materials more important than with standard one-sided panels. A good setup captures direct sunlight while also using reflected light from the ground, roof, or surrounding surfaces. Homeowners can improve performance by checking shade patterns, choosing brighter surfaces below the panels, and leaving enough clearance for rear-side exposure. Careful routing of cables and smart equipment placement also help the system run efficiently. This guide explains how to position bifacial panels for stronger output and more reliable day-to-day performance.
Choose a Location With Sunlight and Reflected Light
Track Shadows Across Your Available Space
Start by mapping shade at the exact spot where you may install the panels. Watch the area in the morning, midday, and late afternoon, and repeat the check if trees, fences, chimneys, or nearby buildings cast seasonal shadows. Bifacial panels lose value when either side sits in shade, so note obstacles above, below, and behind the array. Roof ridges, railings, vents, and parapet walls can reduce rear-side light even when the front still looks clear. Use a sun path app, a shade analysis tool, or simple photos taken throughout the day to confirm exposure. Pick the location with the longest stretch of unobstructed sun and the cleanest rear light access.
Assess the Surface Beneath and Behind the Panels
Bifacial panels benefit from surfaces that bounce light upward and back toward the rear side. Light-colored roofing, white membranes, pale concrete, gravel, and other reflective finishes usually support better gains than dark asphalt or heavily stained decking. Check not only the ground or roof directly below the panel, but also the area behind it, since nearby bright surfaces can add useful reflected light. Keep the surrounding space clean, because dirt, leaves, and standing water can reduce reflectivity or create uneven shading. If you are placing panels on a yard structure, patio cover, or ground rack, consider upgrading the surface below the array to a brighter finish before final installation.
Position Both Panel Surfaces to Receive Light
Set the Direction and Tilt for Your Location
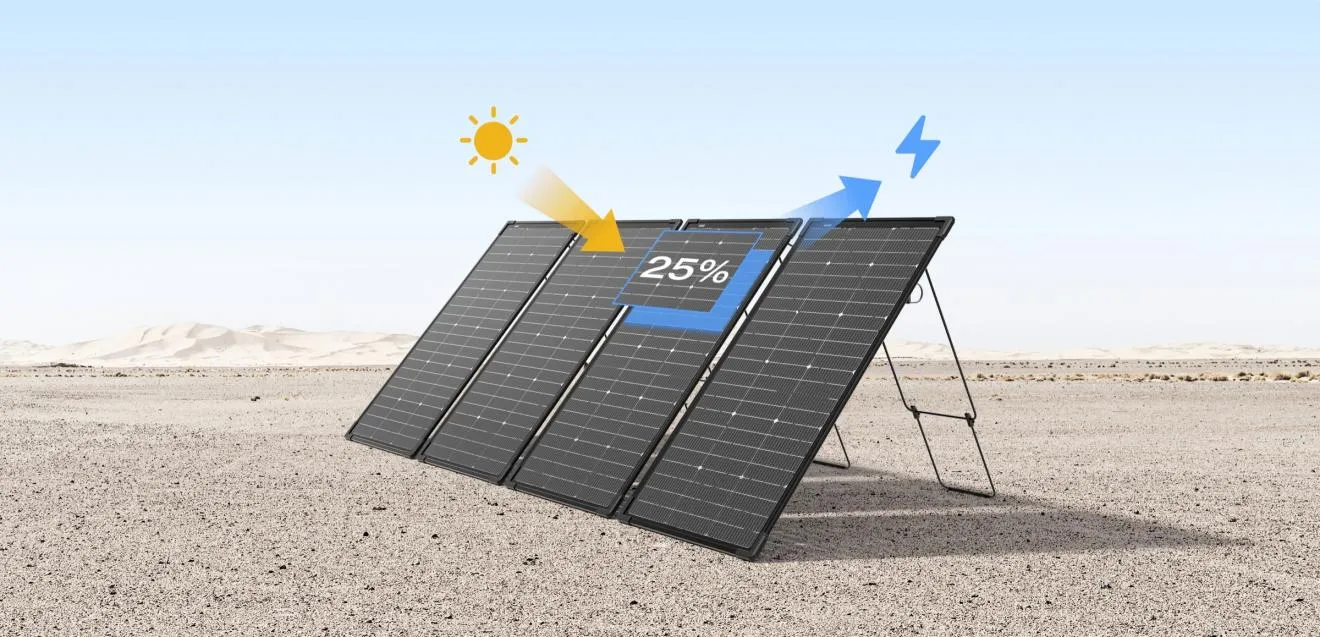
Aim the front face toward the direction that delivers the strongest daily sun for your home, then fine-tune tilt to balance direct and reflected light. On many properties, a south-facing orientation works well, but the best direction should match your roof shape, local sun path, and installation area. Tilt matters because a slightly raised angle improves front exposure while allowing more rear-side light to reach the panel. The EcoFlow 125W Bifacial Modular Solar Panel supports an adjustable angle from 30° to 60° for optimal solar energy collection and offers up to 25% conversion efficiency. Use that adjustment range to match seasonal sun height and your available reflective surface.
Leave Rear Clearance and Reduce Shading
Rear clearance is essential because bifacial solar panels for home need open space behind them to collect reflected light. Mounting the panel too close to a roof or wall can block airflow, trap heat, and limit the rear side’s contribution. Leave enough gap for light to reach the back surface evenly, and keep mounting rails, brackets, junction boxes, and nearby structural elements from casting hard shadows across the cells. If you install several panels together, space rows to prevent one panel from shading the next, especially during low sun angles in winter. Choose mounting hardware that keeps the back as open as possible while still holding the system securely against wind, movement, and long-term weather exposure.
Connect the Setup and Check Its Performance
Plan Equipment Placement and Cable Routes
Place inverters, batteries, connectors, and shutoff equipment where they stay accessible, protected, and close enough to limit unnecessary cable length. Shorter cable runs help reduce voltage drop and keep the installation neat. Route wiring so it does not hang behind the panel where it can shade the rear surface or collect water and debris. Secure cables along rails or structural supports, and keep them clear of sharp edges, hot roofing materials, and areas with repeated foot traffic. If the panels sit on an adjustable frame, leave enough slack for safe angle changes without pulling connectors loose. Clean routing also makes inspections easier and helps you spot wear, moisture issues, or loose fittings quickly.
Test the Position and Adjust Over Time
After installation, check output during clear conditions and compare performance at different times of day. Look for dips that suggest partial shade, poor rear exposure, or a tilt angle that no longer fits the season. If your system allows adjustment, make small changes and track the effect over several days rather than relying on one reading. Inspect the space beneath and behind the panels regularly, since new dirt, plant growth, stored items, or seasonal snow can change reflected light. Clean both panel surfaces as recommended and review mounting stability, cable condition, and airflow. A short schedule of routine checks helps maintain stronger production and confirms that the placement still supports bifacial gains.
Conclusion
The best placement for bifacial solar panels for home use gives both sides access to useful light. Choose a spot with long sun exposure, limit shadows, and pay close attention to the surface below and behind the array. Set the direction and tilt to match your location, leave rear clearance, and keep hardware and cables from blocking reflected light. Once the system is running, test output and adjust as needed. Thoughtful placement turns bifacial design into a practical advantage, helping your home capture more solar energy from the same installation area.